
Overview
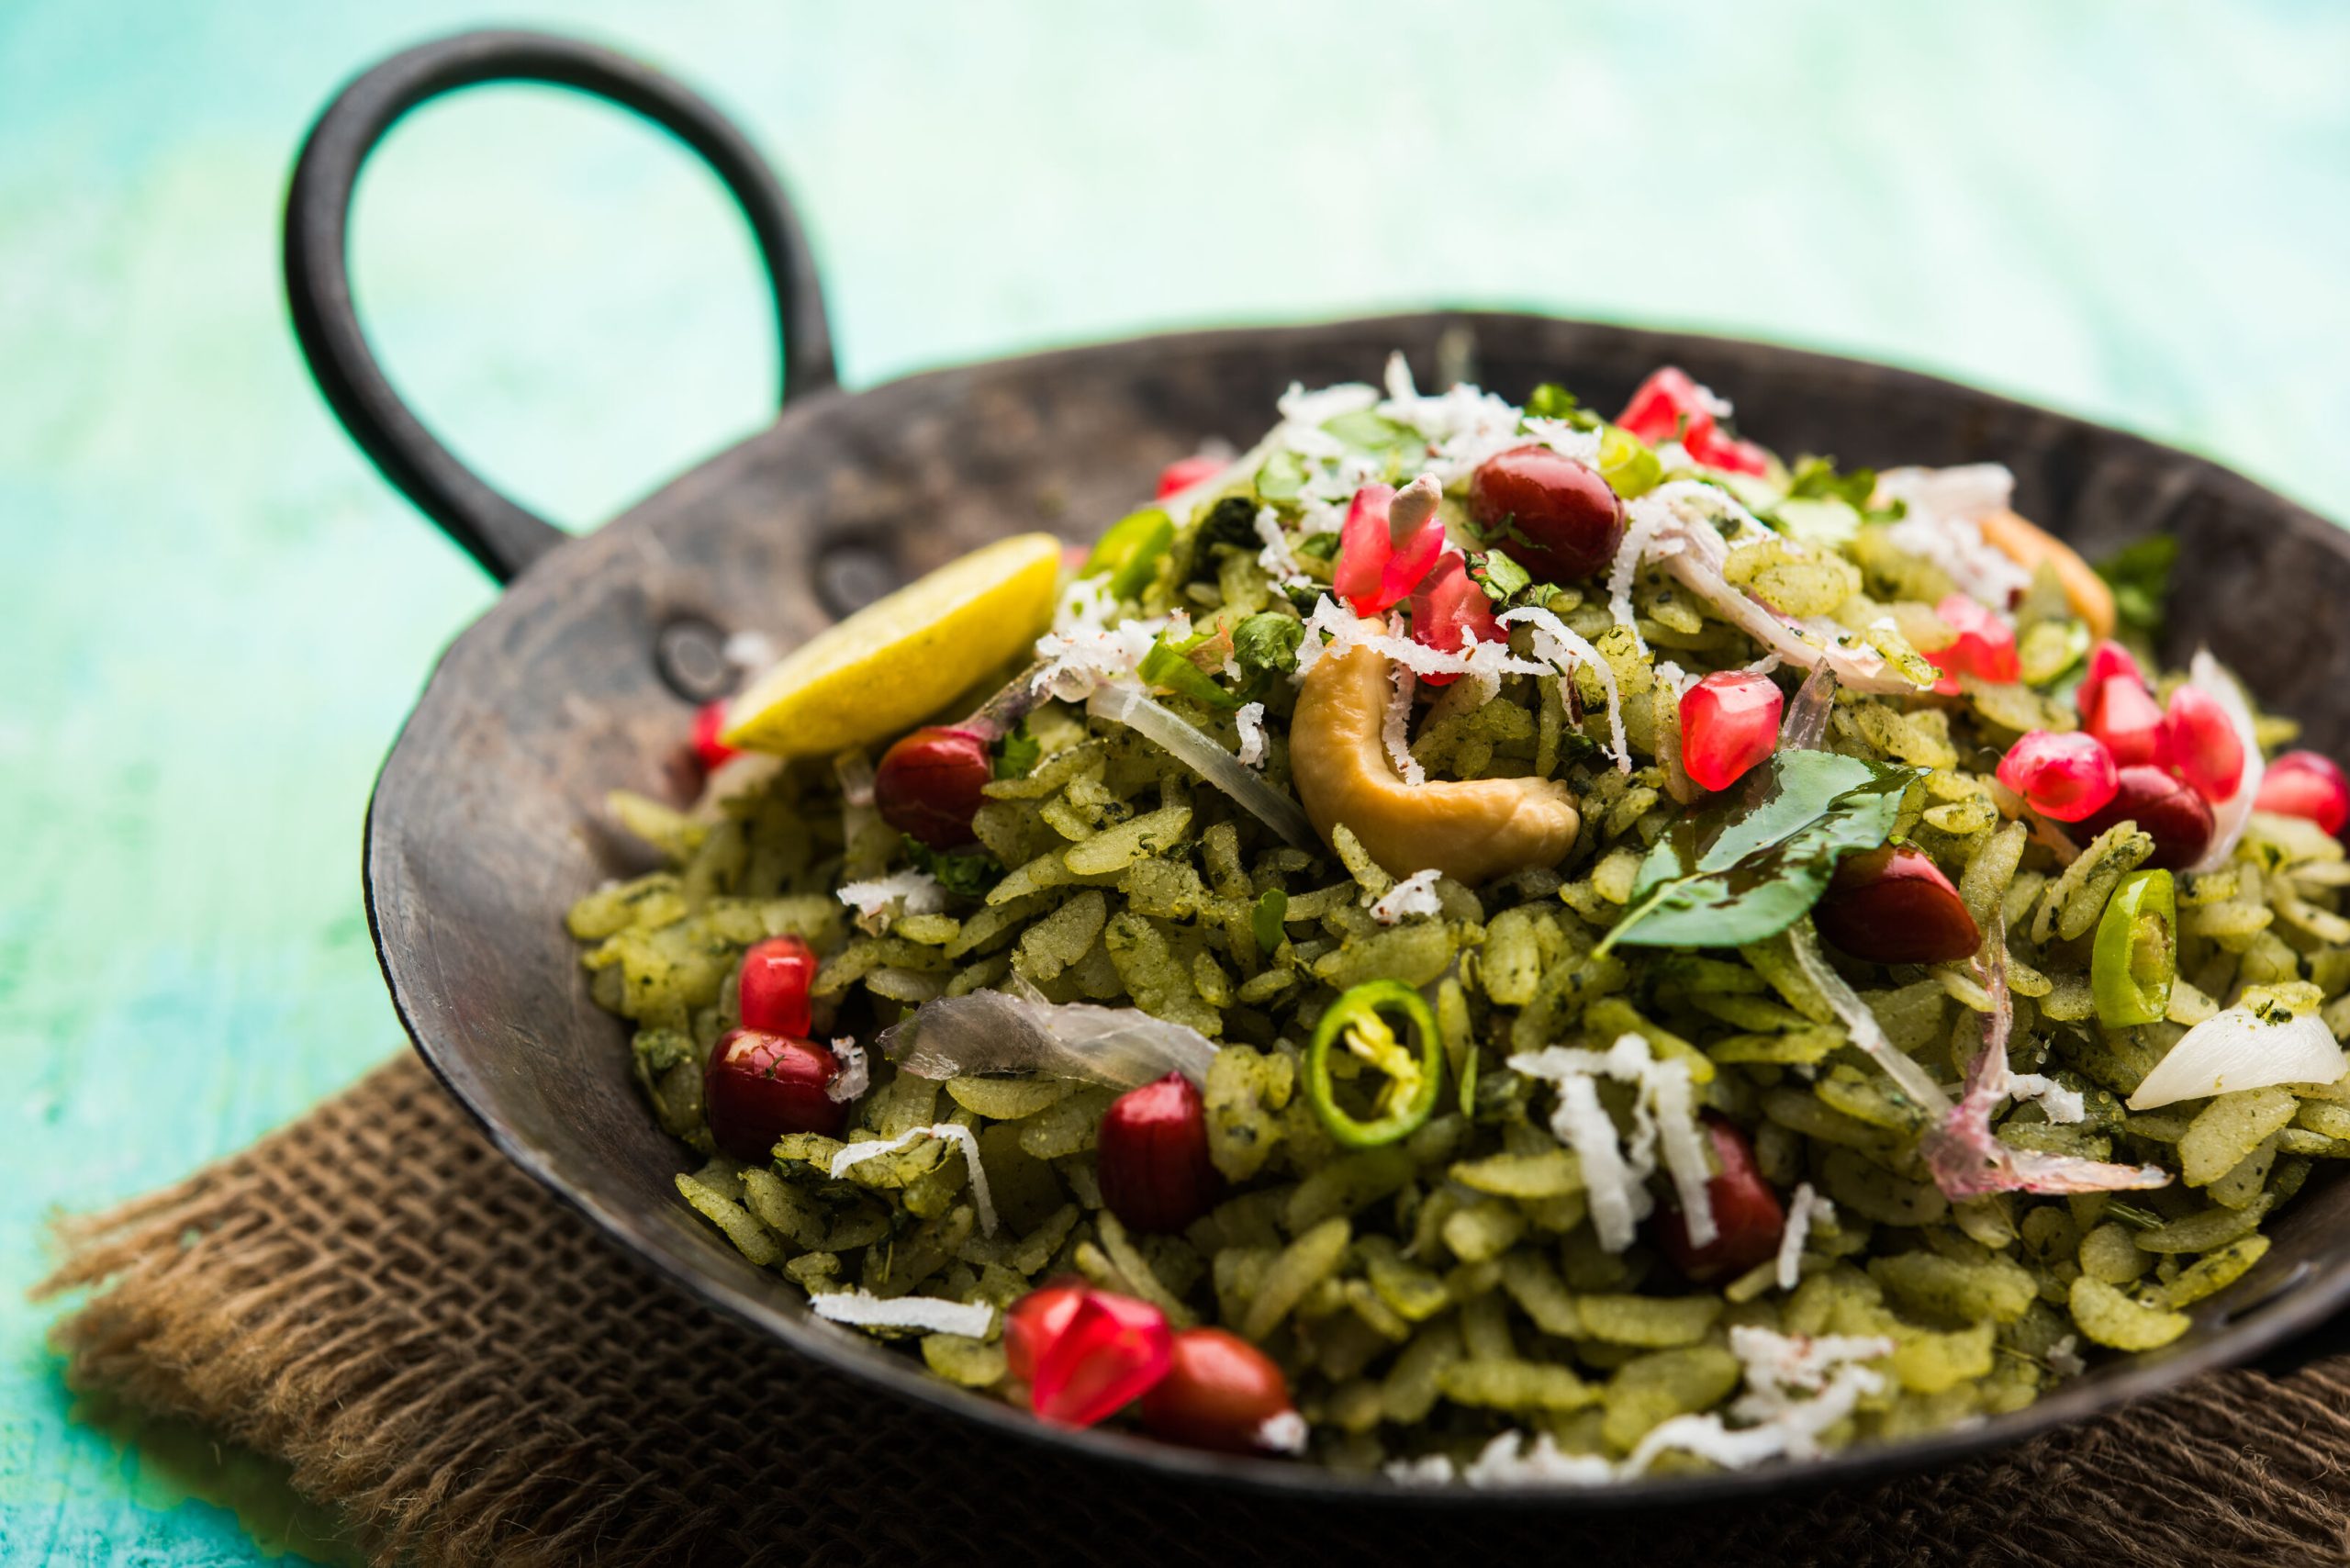
Poha is one of India’s most beloved breakfast dishes. It is quick to make, easy to digest, and genuinely satisfying. This blog covers everything you need to know about poha recipe basics, from understanding what poha is and its nutritional value to a detailed step-by-step cooking guide. Whether you’re recreating the famous Indori poha recipe at home or simply looking for a reliable everyday breakfast option, this guide walks you through ingredients, method, common mistakes, and useful variations. Simple enough for beginners, detailed enough for anyone who wants to get it exactly right.
Introduction
There are few breakfasts in India as universally loved as poha. It’s light but filling, quick but flavourful, and simple enough to make on a weekday morning without any stress. Whether you grew up eating it at home or discovered it at a street stall in Madhya Pradesh, poha has a way of feeling both comforting and energising at the same time.
What Is Poha?
Before getting into the recipe, it helps to understand what you’re actually working with. Poha is flattened rice, rice that has been parboiled, then rolled and dried into thin, light flakes. The word comes from the Sanskrit word prithuka, meaning flattened grain.
It’s sold in different thicknesses, thin, medium, and thick, and the variety you use matters for the final texture of your dish. Medium or thick poha works best for the classic breakfast preparation because it holds its shape after rinsing without turning mushy. Thin poha absorbs water too quickly and tends to go soft before it reaches the pan.
Poha is a staple across Maharashtra, Madhya Pradesh, Gujarat, and parts of Rajasthan, with each region putting its own stamp on the recipe. The most famous regional version, Indori poha, has developed a devoted following well beyond its home city.
Poha Benefits: Why It’s More Than Just a Convenient Breakfast
Poha isn’t just easy to make; it’s genuinely good for you, and the poha benefits are worth understanding.
- Easy to digest: The flattening and parboiling process makes poha lighter on the stomach than whole rice or wheat-based breakfast options. It’s one of the reasons it’s recommended for people recovering from illness or digestive sensitivity.
- Good source of carbohydrates and iron: Poha provides sustained energy through complex carbohydrates and is a surprisingly good source of iron, particularly when prepared in an iron pan. Adding a squeeze of lemon at the end boosts iron absorption significantly.
- Low in calories: A standard serving of prepared poha contains roughly 250–300 calories, making it a reasonable choice for anyone managing their weight without wanting to sacrifice a satisfying breakfast.
- Naturally gluten-free: Poha is made from rice, which means it’s naturally gluten-free, a useful quality for people with gluten sensitivity or those managing coeliac disease.
- Probiotic potential: Some traditional preparations involve slight fermentation, which adds a mild probiotic quality to the dish. Even without fermentation, poha is considered a gut-friendly food in Ayurvedic nutrition.
Poha Ingredients: What You Need for a Classic Recipe
Here’s what you need for a standard serving of two:
For the poha:
- 2 cups medium or thick poha (flattened rice)
- 1 medium onion, finely chopped
- 1 medium potato, cut into small cubes
- 2 tablespoons oil (peanut oil works well for authenticity)
- 1 teaspoon mustard seeds
- 1 teaspoon cumin seeds
- 8–10 curry leaves
- 2 green chillies, slit
- ½ teaspoon turmeric powder
- Salt to taste
- 1 teaspoon sugar (balances the flavour — don’t skip this)
- Juice of half a lemon
For garnish:
- Fresh coriander, chopped
- Sev (fine chickpea noodles) — essential for Indori poha
- Grated fresh coconut (optional but recommended)
- Pomegranate seeds (optional — adds freshness)
How to Make Poha at Home: Step-by-Step Method
Step 1: Rinse and Rest the Poha
Place the poha in a colander and rinse it under cold water for 20–30 seconds. Shake gently and leave it to rest for 5–7 minutes. This is the most important step; rinsing softens the flakes without making them soggy. Do not soak poha in a bowl of water; that’s the most common mistake that leads to mushy results. After resting, the poha should be soft but hold its shape when pressed between your fingers.
Step 2: Season the Poha Before Cooking
Add turmeric, salt, and sugar directly to the rinsed poha and mix gently with your hands or a fork. Seasoning at this stage ensures the flavour is evenly distributed through every flake rather than concentrated in certain areas. Set aside while you prepare the tempering.
Step 3: Fry the Potatoes
Heat oil in a wide pan or kadai over medium heat. Add the diced potatoes and fry until golden and cooked through: about 6–8 minutes. Keep the heat moderate so the potatoes cook inside without burning outside. Remove and set aside. Cooking the potatoes separately before adding them to the poha ensures they’re properly done rather than undercooked in the final dish.
Step 4: Prepare the Tempering
In the same pan, add a little more oil if needed. Once hot, add mustard seeds and let them splutter. Add cumin seeds, curry leaves, and green chillies: stand back slightly as the curry leaves will spit in the hot oil. Add the chopped onions and cook until they turn translucent and lightly golden, about 3–4 minutes.
Step 5: Combine Everything
Add the fried potatoes back into the pan. Then add the seasoned poha and mix everything gently using a light folding motion rather than stirring aggressively. Aggressive mixing breaks the flakes and turns the texture uneven. Cook on low heat for 2–3 minutes, folding occasionally, until everything is heated through and well combined.
Step 6: Finish and Serve
Turn off the heat and squeeze lemon juice over the poha. Mix once more gently. Plate immediately and top with fresh coriander, a generous handful of sev, grated coconut, and pomegranate seeds if using.
The Indori Poha Recipe: What Makes It Different
If you’ve ever had Indori poha from a street stall in Indore, you already know it’s in a category of its own. The base recipe is similar, but a few specific elements set it apart.
First, Indori poha is always topped with sev, not as an optional garnish but as a non-negotiable finishing layer. Second, it’s served with jalebi on the side, the combination of savoury and sweet being central to the Indori breakfast experience. Third, finely chopped raw onion and a squeeze of lemon are added right before serving, giving it a fresh, sharp contrast to the warm, spiced poha underneath.
Some Indori preparations also include a sprinkle of fennel seeds in the tempering, which adds a subtle sweetness that distinguishes it from the Maharashtrian version. If you want to recreate the full experience at home, don’t skip the sev and don’t skip the jalebi; even a store-bought one on the side makes a meaningful difference.
Common Mistakes to Avoid When Making Poha
- Soaking instead of rinsing: Soaking makes poha waterlogged and mushy. A quick rinse and a rest period are all it needs.
- Skipping the sugar: Sugar isn’t about making poha sweet. It balances the salt and turmeric and rounds out the overall flavour in a way that’s hard to achieve without it.
- Stirring too aggressively: Poha breaks easily. Fold it gently rather than stirring, especially once it’s in the pan with the other ingredients.
- Overcooking after combining: Once the poha is mixed with the tempering, it only needs 2–3 minutes on low heat. Cooking it longer dries it out and makes the texture unpleasant.
Also Read: Arabica vs Robusta Coffee
Final Thoughts
Poha earns its place as one of India’s great breakfast dishes not because it’s trendy or nutritionally optimised, but because it genuinely works. It’s fast, flavourful, filling, and forgiving enough for a beginner to get right on the first attempt. Once you understand the basics, the right poha thickness, the rinse-and-rest method, and the tempering sequence, you can adapt it endlessly to suit your taste and what you have available.
Make it once properly, and it’ll become a permanent part of your breakfast rotation.